| Overview |
|
Hardware & Software Requirements |
|
Mount & Tablet Install |
|---|---|---|---|---|

|
|
|
Mounting the dock and tablet in your vehicleAll machines used as a means of production on a construction site or at a batch plant. includes the following steps:
- Secure the mount to the dashboard
- Attach the tablet dock to the mount
- Connect the tablet dock to the power supply
- Secure the power cable
Securing the mount to the dashboard
Because securing the mount to a vehicle's dashboard is subject to many variables and installers are expected to have previous experience with this process, these instructions do not include specific steps. However, see the tips below for additional information.
- Before securing the mount to the dashboard, find the optimal spot for the tablet, tablet dock, and mount to be positioned. The best location will be one that does not allow the tablet to block the driver's view of the road or interfere with the safe and standard operation of the vehicle. Keep in mind the mount is adjustable.
- To get an accurate estimation of how the tablet dock and mount will be positioned, it might be helpful to attach the tablet dock to the mount temporarily. If this is done, unscrew the mount and dock before installing the mount on the dashboard for ease of installation.
- Screwing the mount into the dashboard will require drilling through the dashboard or dash plate first to establish screw-in points for the mount. Use proper equipmentAll machines used as a means of production on a construction site or at a batch plant., safety, and sense to avoid damaging any wiring or equipment in and around the dashboard.
- Because all vehiclesAll machines used as a means of production on a construction site or at a batch plant. differ, the screws and washers required for securing the mount to the vehicle's dash are not included with the kit, and the installer will need to choose screws and washers that best fit the vehicle and mount.
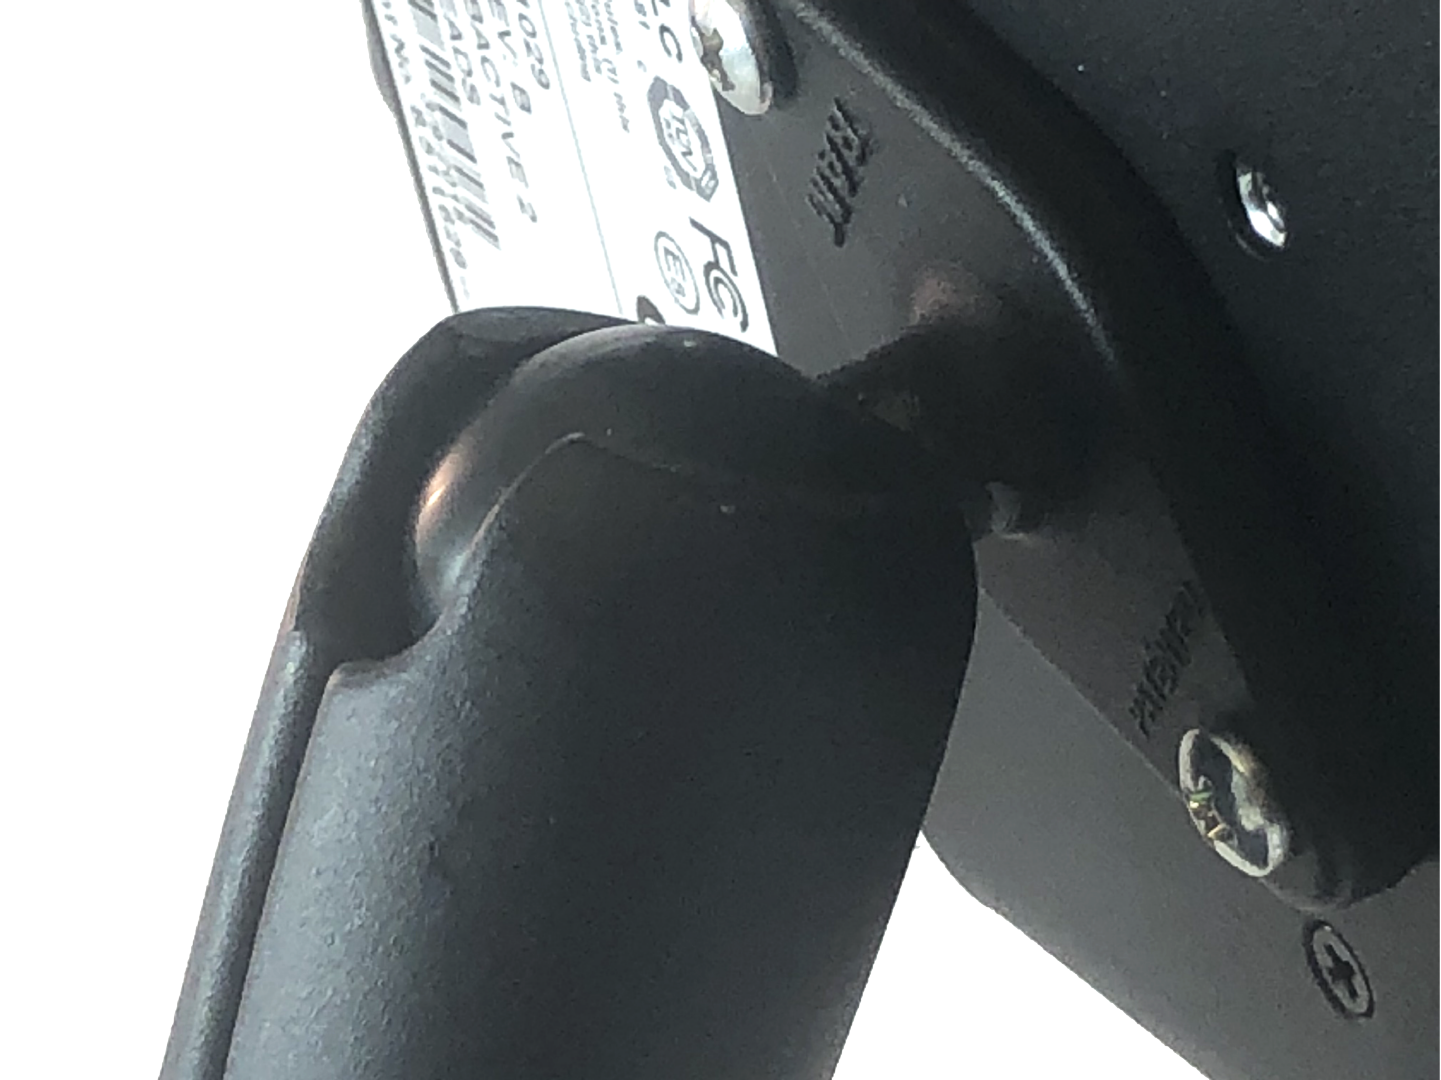
Attaching the dock & mount
Once the mount has been installed, use two of the screws from the installation kit to screw the top of the mount to the back of the tablet dock. Ensure the mount is angled diagonally to meet the screw-in points correctly.
Connecting the tablet dock & power supply
Now that the dock has been secured to the mount, you need to connect the dock to the vehicle's power supply. To do this, you will need to wire the red and black wire extending from the bare wire lead directly to the vehicle's power supply.
- Connect the red lead to the vehicle power.
- Install a 5A inline fuse for proper step-down.
- Connect the black lead to vehicle ground.
- Once the dock is connected to the vehicle's power supply, verify the Dock is drawing power from the vehicle before replacing the dashboard plate or head unit. To verify, insert the tablet into the dock to insure the tablet is receiving power.
- Face the Samsung Galaxy Tab Active2 with the logo and stylus to the left and the home button to the right. This places the tablet's docking connector in the right place to meet the dock's connector.
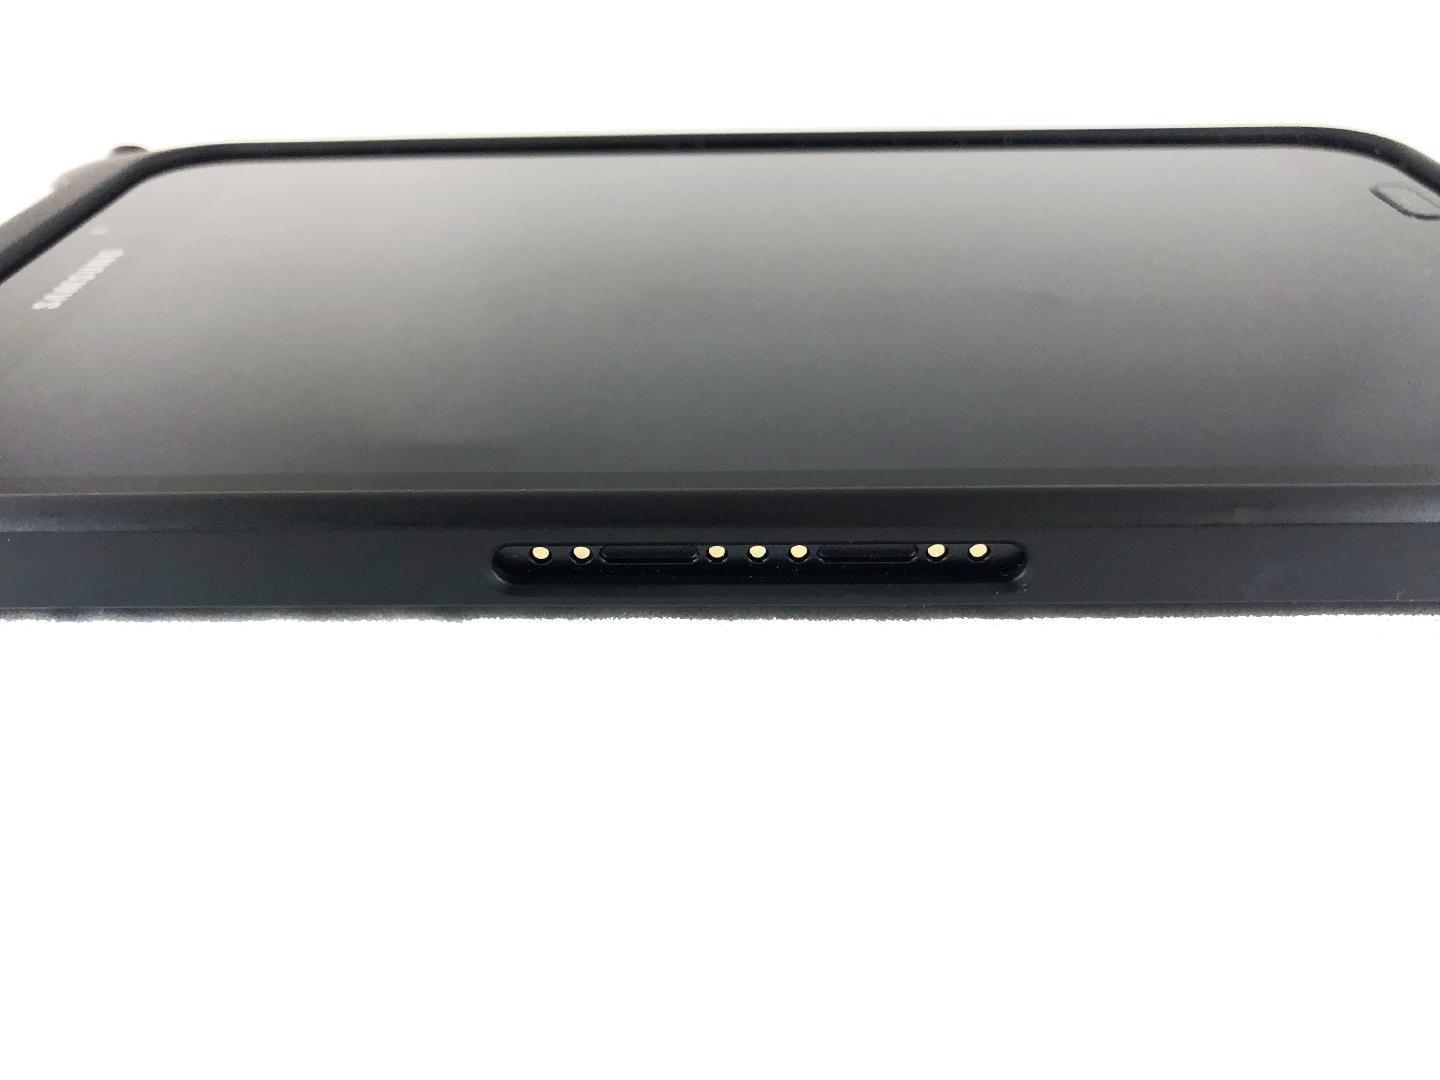
- Place the tablet in the dock by sliding the docking connectors together first and then pushing the top of the tablet down to push the slide lock back until the lock clicks back into place over the tablet.

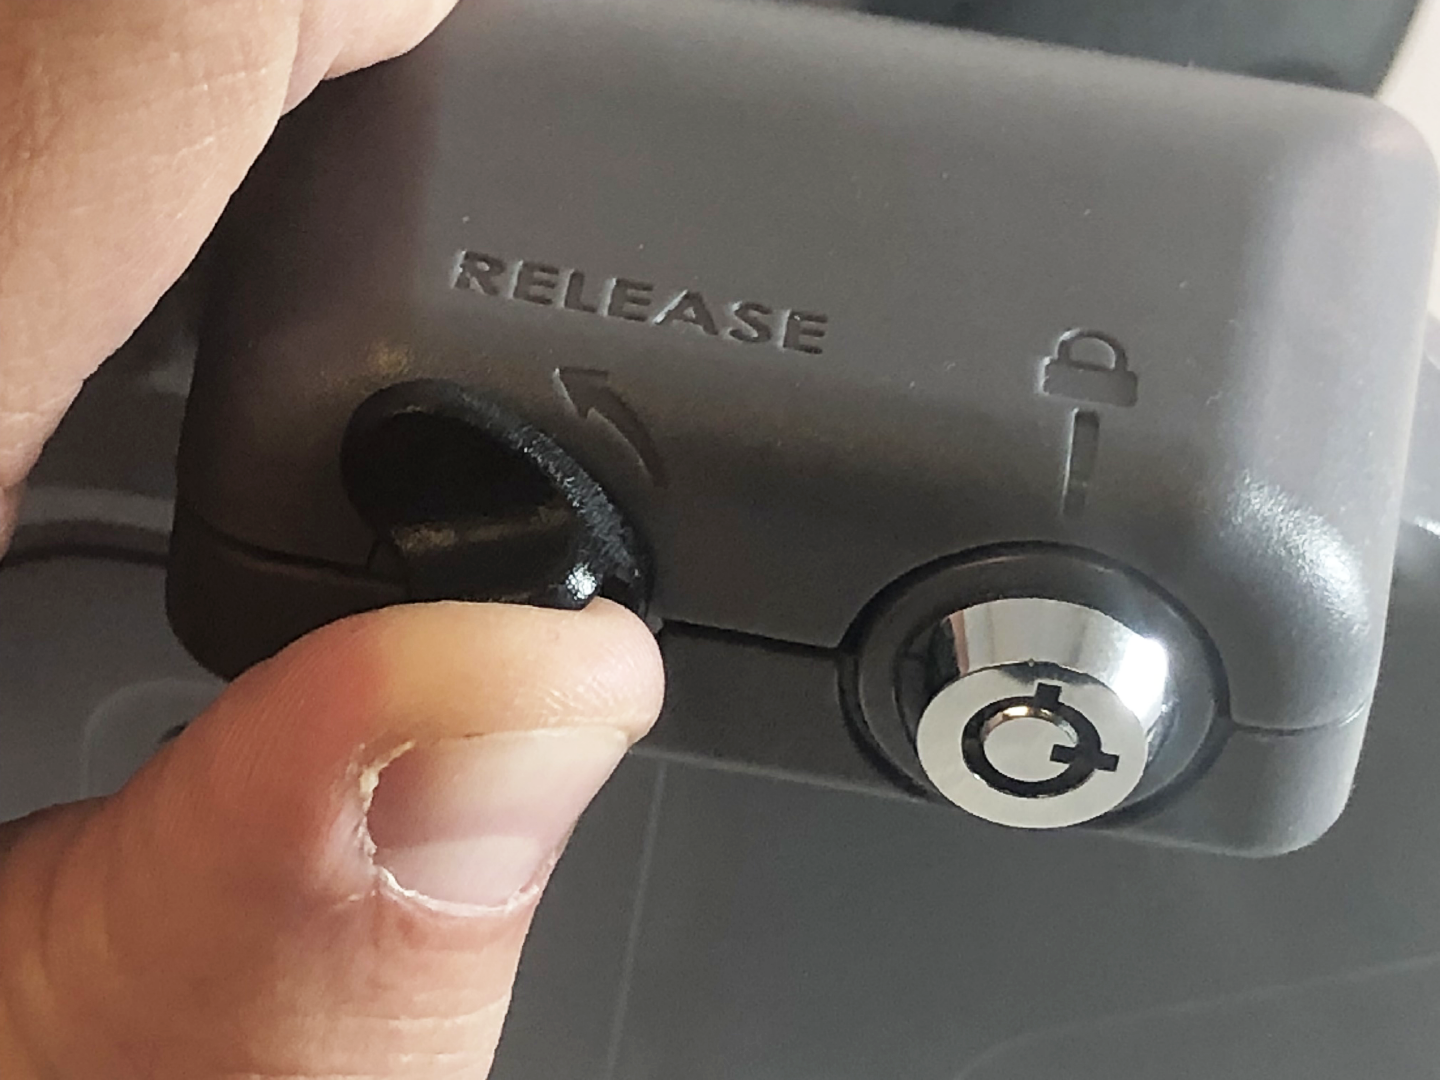
- To release the tablet from the dock, unlock the dock if needed, push the slide release up, and lift the top of the tablet out of the dock.
Securing the power cable
After you've connected the dock to vehicle power cables and you've likewise verified the connection, we recommend securing the power cable. Due to the numerous existing cables running throughout your vehicle, signal and power interference may occur if the cable dangles loosely inside the dashboard.
Use the zip ties provided with your mount installation kit to mitigate this risk.
What's next?
Now that your tablet is secured to the vehicle, the device must be configured to communicate with your Engine Data Controller (EDC). Instructions regarding this process are found in the EDC Installation Guide.
|
|
|
|