Payroll > Schedule
The daily operation of any company is dependent on the logistics of shift schedules. From these screens you may handle the day-to-day schedules of each Plant, Employee Type, and Employee Group to ensure adequate coverage during business hours.

Easily organize filtered schedules by using the Create Shortcut  button.
Managing daily schedules
Daily schedules vary based on the size and makeup of any company. Selecting a day from the ScheduleA tool for scheduling daily employee shifts. Employers may use this to set start and end times for each employee. screen launches the Add Schedule screen where administrators may assign hours to each employeeUser accounts for drivers, dispatchers, and other staff to perform varying functions in TrackIt.'s shift.
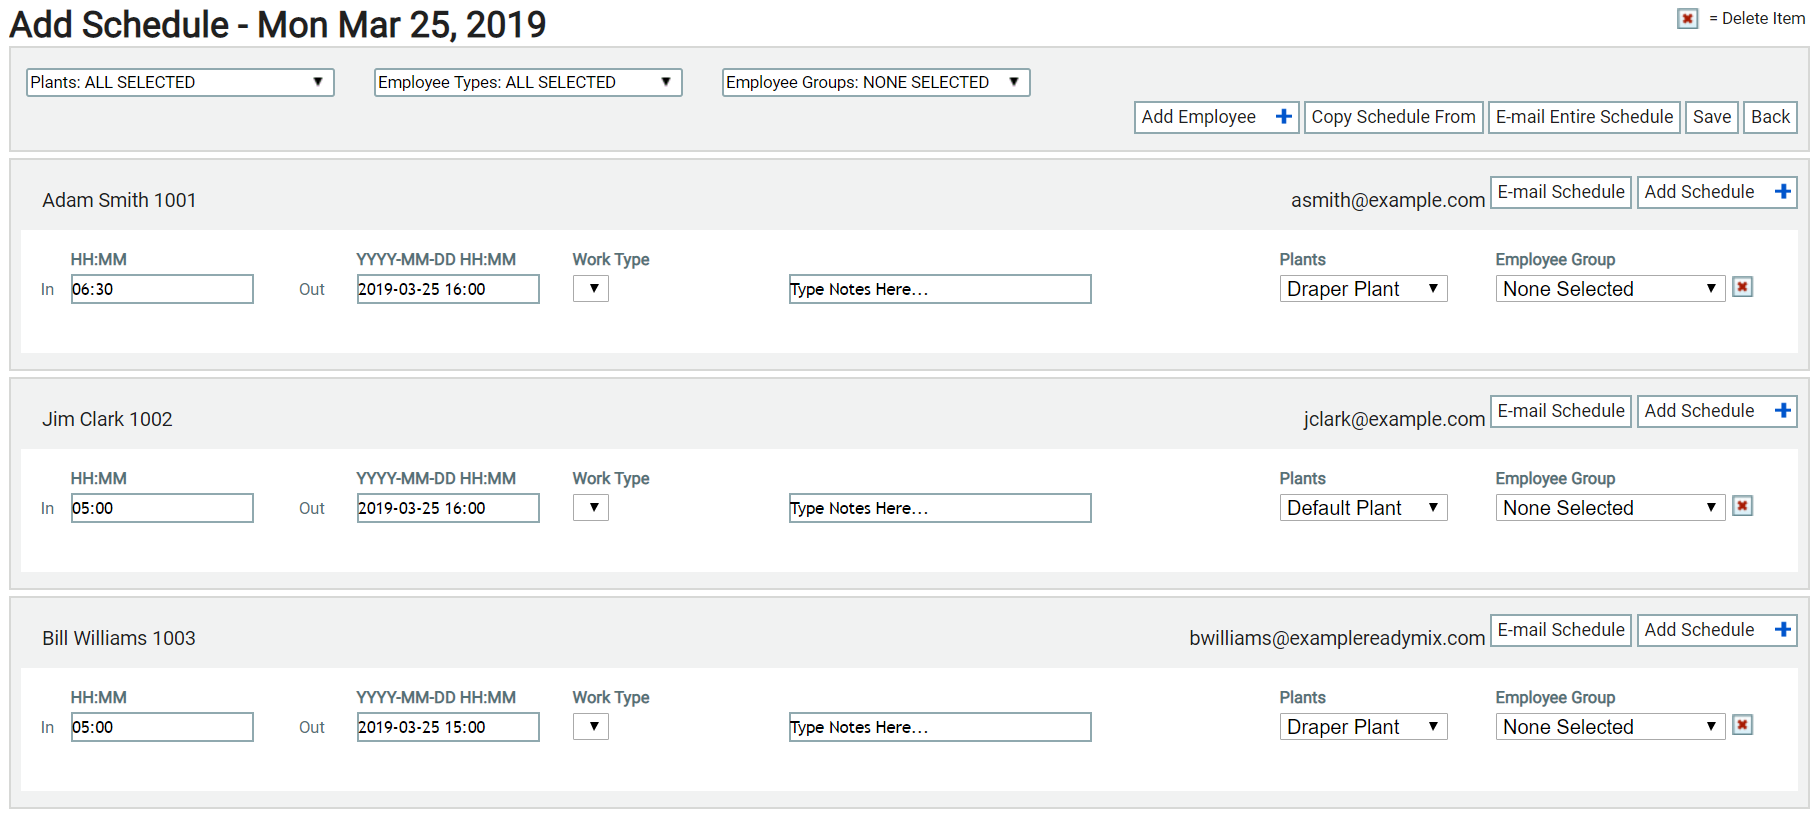


Scheduling employees
Employees shown on a schedule may be assigned in and out times for each shift they have. Not all employees must be given a scheduled time, so blank entries are allowed.
|
In |
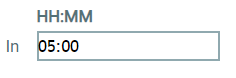
The start of an employee's shift, formatted as HH:MM for hours (HH) and minutes (MM).
This time affects when employees can log in on TrackIt. By default, users cannot log in with the TrackIt Android app earlier than the time specified here. To work around this, set a value for Employee Type Setup for that employee type. |
|---|---|
|
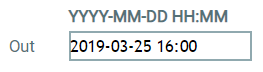
Out |
The end of an employee's shift, formatted as YYYY-MM-DD HH:MM for year (YYYY), month (MM), date (DD), hours (HH), and minutes (MM).
|
|
Work Type |
Based on an employee's skill set, they might be assigned to different types of equipmentAll machines used as a means of production on a construction site or at a batch plant. and work for each shift. For each shift an employee is scheduled, select a listed Work Type. |
|
Plants |
Whether employees working at different plants each shift or the same one each time, the plantA production plant or material storage location. an employee will report to for loads and equipment needs must be specified. An employee's schedule will appear grayed out if they're assigned to another plant that you lack management privileges over. You must contact that plant's supervisor and request for the employee to be unassigned from that plant in TrackIt before you can make any changes.
|
|
Employee Group |
With each shift schedule, an employee may be assigned to a different Employee Group. This is used by many companies for easier reporting, tracking, and notificationA software-generated message or warning triggered by vehicle data. purposes. The group an employee is assigned to will only take effect during that schedule, acting in effect as a temporary group. |
- Navigate to Payroll > Schedule.
- Select the desired date from the drop-down menus or date picker and then click Apply
 . Three tables appear below indicating the day before, of, and after schedules.
 - Select the day you wish to view the schedule for.
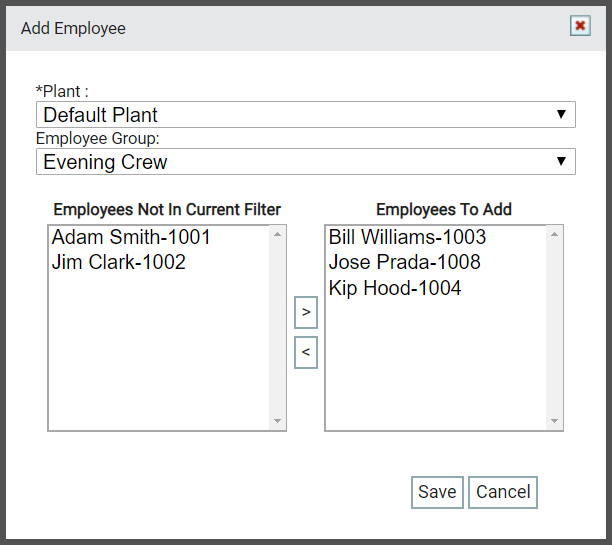
- Select Add Employee
 to launch the Add Employee dialog windowA pop-up window that requires user input.. All employees not included on the filtered schedule will appear in the left-hand list.
 - Click the arrow

 buttons to add or remove additional workers.
 - Click Save
 to include these shifts on the schedule.


The selected employee(s) appear on the schedule and may now be given clock-in and clock-out times for that day.

- Navigate to Payroll > Schedule.
- Select the desired date from the drop-down menus or date picker and then click Apply . Three tables appear below indicating the day before, of, and after schedules.
- Select the day you wish to view the schedule for.
- Scroll down and locate the desired employee.
- Enter a start and end time for the shift with the In and Out fields. If needed, also set a value for Work Type, Plants, and Employee Group.
- Repeat these steps for each employee.
- Click Save .
Using email
- Navigate to Settings > Employee > Employee.
- Click Edit
 employee to open the Edit Employee window.
 - Enter a valid email address in the email field. Ex: example@email.com
- Navigate to Payroll > Schedule.
- Click the date for which you would like to send a schedule.
- Click E-mail Entire Schedule
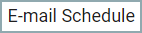
 for all employees scheduled. Or, click E-mail Schedule
  for an individual employee.
Using text messages
- Navigate to Settings > Employee > Employee.
- Click Edit next to the desired employee.
- In the Edit Employee dialog, click the Info button next to the Email Address field. The Texting Instructions dialog will appear.
- Find the employee's phone carrier and click the example email. The carrier address will appear in the Email Address field in the previous window.
- Enter the employee's 10-digit phone number before the @ sign. Ex: 1234567890@txt.att.net
- Click Save .
- Navigate to Payroll > Schedule.
- Click the date for which you would like to send a schedule.
- Click E-mail Entire Schedule for all employees scheduled. Or, click E-mail Schedule for an individual employee.
- Navigate to Payroll > Schedule.
- Select the desired date from the drop-down menus or date picker and then click Apply . Three tables appear below indicating the day before, of, and after schedules.
- Select the day you wish to view the schedule for.
- Click Copy Schedule From
 and pick the desired date.
 - Click Copy
 . All employees and their shift schedules are duplicated to this date.
 - Make any schedule changes as desired.
- Click Save .
