| Overview |
|
Requirements |
|
Installing display |
|
Installing probe |
|
Installing flowmeter |
|
Installing OBC/EDC |
|
Connecting cables |
|
FAQ |
|---|---|---|---|---|---|---|---|---|---|---|---|---|---|---|

|
|
|
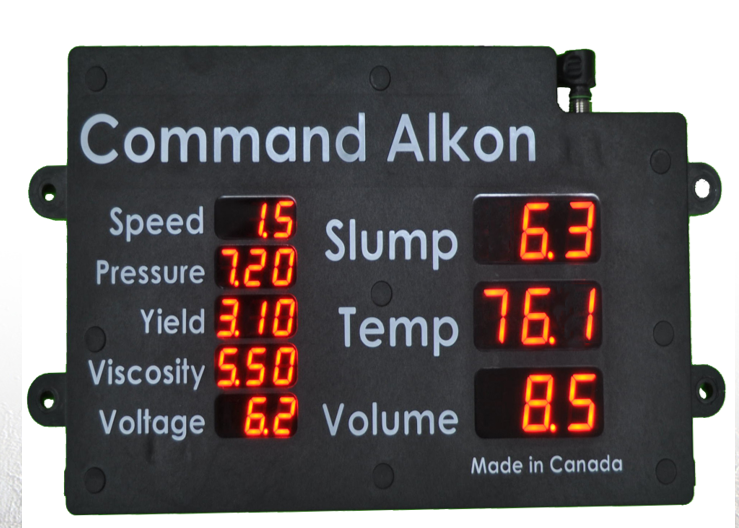
Specific probeA probe device mounted in the side of a bin to measure the moisture content of aggregate materials such as sand. data may be tracked via an external display typically mounted to the side of the vehicleAll machines used as a means of production on a construction site or at a batch plant.. This display consists of simple counters associated with attributes like drum rotation speed, pressure, temperature, and volume. This is made available to drivers separate from the tablet so that they have ready access to loadThe total amount of concrete or asphalt that is being or has been batched for delivery. properties while preparing to pour.
The main steps to install the display are:
Select the installation location
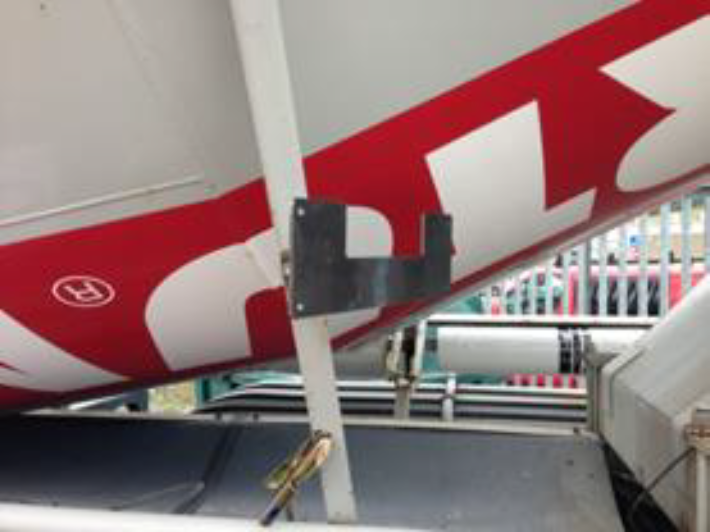
Build a custom bracket (if required)
Fix the display
Connect the cables (Power, OBC and Flowmeter if applicable)
Install the protective cover
Secure the cables
Rotate the drum and make sure the speed is coherent
Add water in the drum using the line with the flowmeter and make sure the display shows the quantity of water added
Selecting the display’s location
Factor in the following considerations when selecting a location for the display:
- The display must be easily visible and safe to access by the driver
- The surrounding area should not create interference for the signal
- The display should not get dirty by concrete or grease
- The display should not be exposed too much for incident avoidance
The most common place to install the display is at the back of the truckAll machines used as a means of production on a construction site or at a batch plant. or behind the cabin.
Installing the mounting plate and fixing the display
The display comes with a mounting plate which can be welded directly onto the truck. Depending on the truck and selected location, it may be necessary to use additional hardware parts (not included) or build a custom bracket (not included).
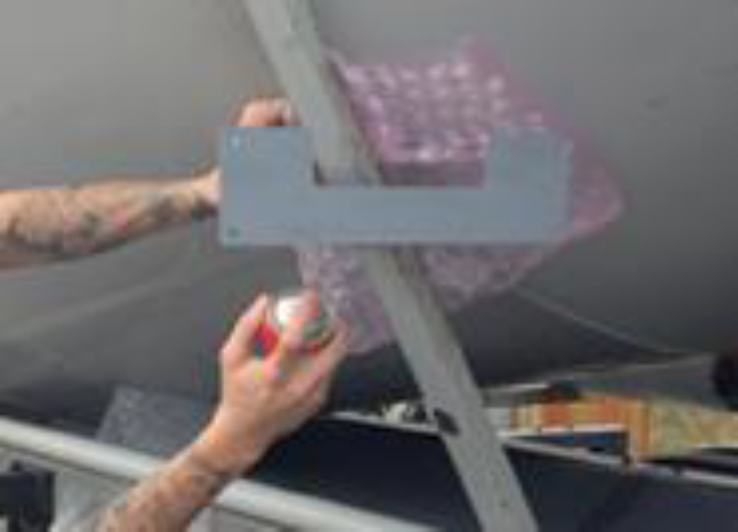
After the plate has cooled down from welding, it is recommended to paint the mounting plate to prevent corrosion (Figure 14 b). Use four stainless steel bolts and nuts to secure the display on the mounting plate.
|
|
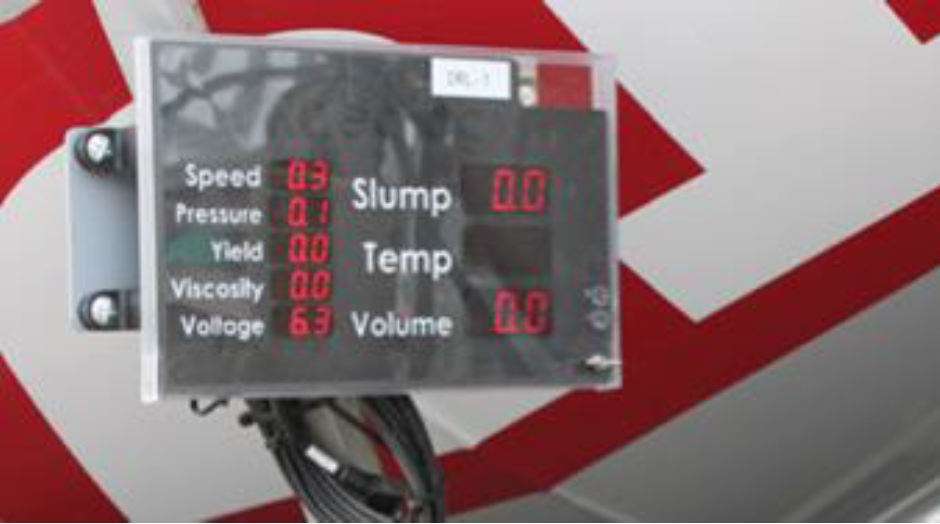
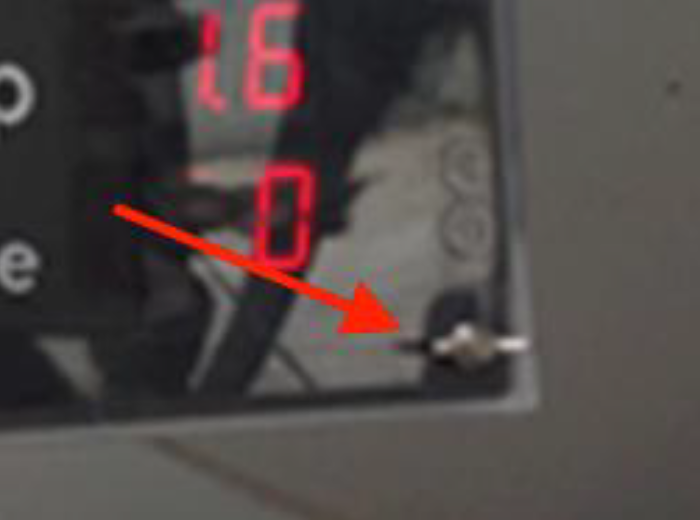
Installing the protective cover
After installing the protective cover, use the winged butterfly screw to secure the plexiglass cover in place. The screw should be inserted in the hole at the bottom-right corner of the protector and display housing.
|
|
|
|
|